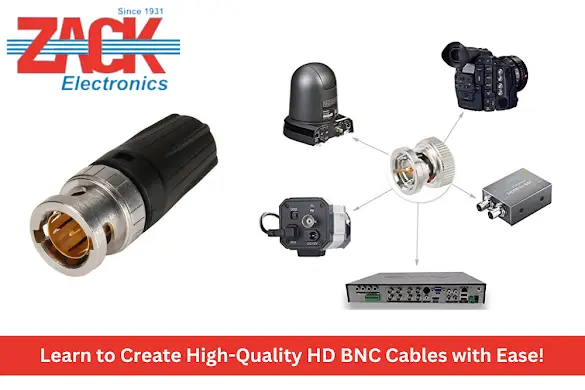
Learn to Create High-Quality HD BNC Cables with Ease!

Let's discuss the importance of creating top-notch HD BNC cables for audio and visual needs. But first, it's crucial to highlight the essential materials and equipment required for this task.
It's worth noting that HD BNC cables offer unparalleled efficiency in transmitting high-quality video and audio signals. Therefore, investing resources in crafting such cables is a wise decision, especially for those who require top-tier wires in professional settings.
The following sections will explore the appropriate techniques for crafting HD BNC cables using high-quality Neutrik and gripple lines to ensure optimal durability and reliability. Additionally, we'll touch on the benefits of using USB wireless microphones with these cables for unmatched convenience and functionality.
A Step-by-Step Guide to Making HD BNC Cables
For those in the audio or video industry, it's common knowledge that the quality of cables is paramount. Poor cables can cause inadequate audio or video quality, signal disruption, and equipment damage. That's why it's essential to know how to produce your lines to ensure absolute authority over the quality of your audio and video signals. This article will provide a step-by-step tutorial on creating HD BNC cables for high-definition video applications.
Step 1: Cable and Connector Preparation
Although crafting your HD BNC cables may seem intimidating, it is a simple process that requires only a few necessary tools and materials. Here is a more detailed explanation of the steps involved in creating your cables:
● Acquire the essential tools and materials, such as HD BNC connectors, a BNC crimping tool, a cable cutter or stripper, the cable of the appropriate length for your intended purpose, and Neutrik cables.
● Utilize the cable cutter or stripper to measure and cut the cable to the appropriate length.
● Eliminate any plastic or protective coatings from the HD BNC connectors.
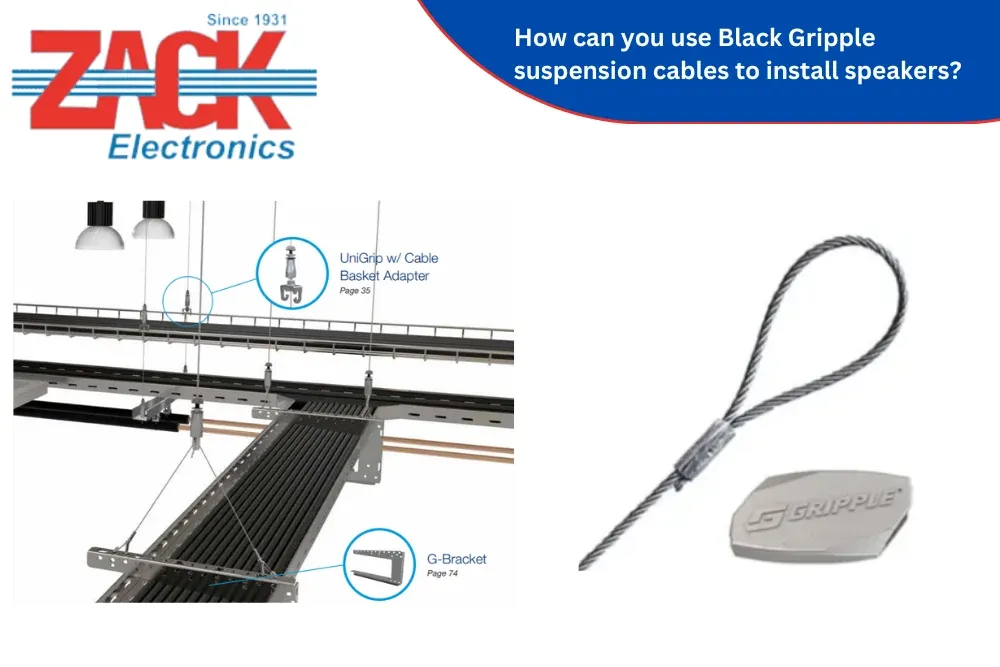
● Thread the cable through the center of the Gripple wire joiner, which is crucial since it provides strain relief and guarantees a secure connection.
● Use the BNC crimping tool to attach the connector to the cable, ensuring you follow the manufacturer's instructions closely.
Repeat these steps for the opposite end of the cable, and your DIY HD BNC cable is ready to go!
Step 2: Cable Stripping
With the aid of your cable stripper or cutter, eliminate roughly 3/4 inches of the outer covering from the cable's tip. Again, it's imperative to exercise prudence not to impair the inner wires during this process. Subsequently, apply a wire stripper to eliminate approximately 1/4 inch of insulation from every wire.
Step 3: Connector Preparation
Arrange the inner wires of your cable in the appropriate order based on the HD BNC connector's pinout diagram. Once the wires are in order, slide the connector over the exposed wires until it's tight against the outer jacket.
Step 4: Connector Crimping
After you have stripped the insulation from the cable wires, the following step entails attaching the BNC connector to the cable using a specialized BNC crimping tool that ensures a durable connection between the cable and the connector. Again, exerting enough force to ensure the link is secure and won't come loose during use is essential.
Once you have successfully crimped the connector onto one end of the cable, it is imperative to repeat the process for the other end. This guarantees that both ends of the cable are connected appropriately, allowing for the uninterrupted and efficient transmission of audio and video signals. These steps will enable you to create a high-quality cable that suits your audio and video requirements.
Step 5: Testing Continuity
Testing the cable for continuity is crucial to verify the connection between the wires and the connectors and ensure there are no cable breaks or shorts. Use a continuity tester by connecting one end to one end of the cable and the other end to the opposite end of the cable. The tester should display continuity between the wires.
Tips for Creating a Sturdy and Reliable Cable
To guarantee the creation of a robust and dependable cable, adhere to the following guidelines:
● Incorporating a gripple cable is vital to fastening the cable and diminishing tension. This will preclude harm to the thread and ensure an extended life expectancy.
● Selecting high-grade Neutrik connectors is critical for peak performance. In addition, these connectors are engineered to furnish a secure and trustworthy connection, which is indispensable for audio and video applications.
● Verifying that the cable's length is suited to the application is essential for convenience and portability. A too-protracted or abbreviated cable can induce avoidable inconvenience and the possibility of harming the cable.
● Employing a protective sleeve or shrink wrap is exceedingly recommended for added robustness. This will guard the cable from physical damage and ensure its longevity.
Key Considerations for Wireless Microphone Cables
One needs to take into account several factors when selecting cables for your wireless microphone. Here's why:
● With the popularity of USB wireless microphone systems, choosing compatible cables is vital to ensure optimal performance. Look for cables that are specifically designed for use with USB receivers and transmitters.
● The length of your cable is also significant to consider. Selecting a cable with a befitting length that meets your needs is crucial. Too short of a cable can hinder your mobility, while a too-long cable can be cumbersome and increase the risk of tangling or tripping.
● It's essential to ensure your cable is compatible with your wireless microphone system to avoid connectivity issues and maintain clear audio quality. Invest in high-quality cables from trusted brands like Neutrik and consider using a gripple cable for added stability and durability. Don't skimp on quality - it can make all the difference in the performance of your audio system.
Wrap Up
It is widely accepted that crafting premium HD BNC cables is imperative for attaining top-notch audio and video output. However, numerous specialists advise attempting to manufacture your own cables using the comprehensive, step-by-step guide and valuable pointers furnished. This can lead to a more bespoke and dependable setup.
Opting for substandard cables can considerably undermine the quality of your audio and video configuration; hence, taking charge of your requirements with DIY cables that amplify your overall experience is a wise decision. Do not hesitate to devote time and energy to creating high-quality cables catering to your individualistic needs and preferences.


